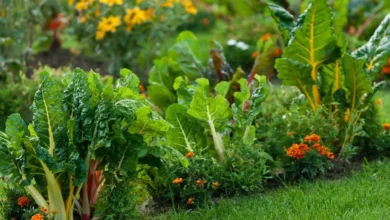
How To Grow A Neem Tree Without Seeds?
It is not difficult to grow a neem tree without seeds. The propagation of the neem trees can be done with the help of their branches. You can get a softwood or hardwood branch from any neem tree and grow this beneficial tree in your garden.
The question that arises in your mind is that what is softwood and what is hardwood. The branches of the year-old tree are called hardwood cuttings on the other hand softwood cuttings mean the growing tip of the branch. Here are simple steps of growing neem trees from cuttings.
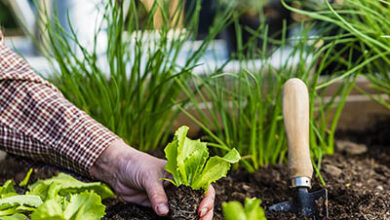
Step 1: Select The Cuttings
You should select healthy and newly growing tips for 1-year-old branches. The length of the cuttings should be about 7 to 8 inches. Each cutting should be as thick as a pencil.
After choosing the cutting now place them in clean water. A few days later your cuttings will be ready for planting.
Step 2: Rooting Media
For best propagation, you need free-draining propagating media. 3 parts of washed coarse river sand with 1 part of potting mix. This mixture is best for your plants.
Step 3: Selection Of Pot
If you are planting a single Neem cutting then you need a small pot for this purpose. Drainage holes are very important for the healthy growth of any plant so make sure that your path has many drains it hole at the bottom.
If you are planning to grow 4 to 5 cuttings together then you should use a large pot.
Step 4: Filling Of Pot
Now your pot is ready for filling. When you fill your pot with the rooting media and water thoroughly. During the watering process turn the soil to make it possible that water reaches all places.
At this stage, keep your pet in the shade for half an hour. This will help to drain all excess water from the soil.
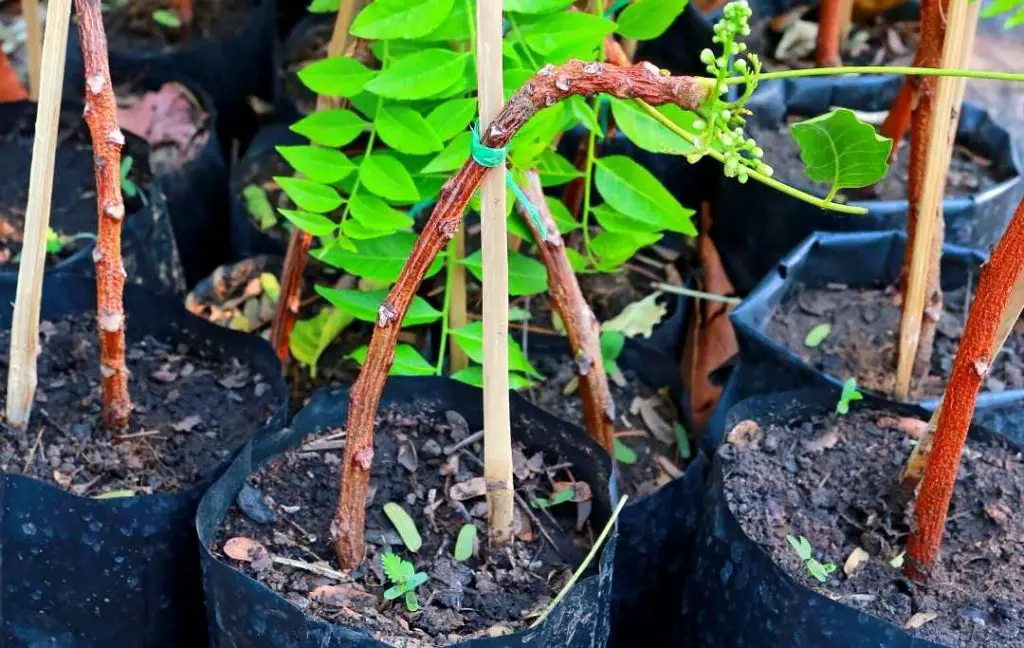
Step 6: Prepare And Plant Neem Cuttings
- Take all the cuttings which you choose for planting. Now remove the bottom leaves from the cuttings. Only top leaves should be left on the cutting.
- For fast growth, you can apply rooting hormone at the lower part of the cutting. Only one inch at the end of each cutting should be dipped into the rooting hormone. Commercial rooting hormones are very effective but you can also use homemade hormones. You can make homemade hormones by using honey, aspirin, or cinnamon.
- For making holes in the soil of the pot you can use a stick. Insert the stick in the soil for making the hole. The hole must be 1 inch deep.
- Now your hole is ready for planting the cutting. Insert the cutting in the hole and press the soil around it. In the same way, you can plant all the cutting.
- Now your cutting doesn’t need any water. You can use a polythene bag for putting the pot in it. As you are using a small pot then you can tie it at the top. This will help retain the moisture within the soil and provide a humid environment necessary for rooting.
- Direct sunlight is not good for your newly planted cuttings. You can place your pot in bright light but not in direct sunlight.
- Every 10 days you can open the bag and mist soil. After that, close the bag again. If you protect your cuttings from rot then you should avoid giving excess water. As your cuttings have no roots that’s why it needs no water.
- After 3 to 6 weeks, you will see the new growth emerge from the cuttings. At this stage, open the bag and just tuck the cutting with your hand. If you see that it offers resistance, it shows that the roots are there. If you don’t feel any resistance then tie the bag again and wait for the roots.
- If you see some new leaves on the cuttings, open the bag for half-day for the next 3 days. After 3 days, there is no need to tie the bag and you can place the pot in partial shade.
2- Growing Neem By Air Layering
open next page to continue reading….
[adinserter block=”3″]
[adinserter block=”4″]